Sunday, January 08, 2012

The finished model.


Saturday, January 07, 2012

Finished model with lighting.


The circuit board I made for the lighting. 12v system, connector on the left is for the front mast lights - so that the superstructure can be removed for maintenance etc. The circuit board is fused (top of board)

Monday, January 02, 2012

Detail of the bow. Additional detail includes guy ropes that are on the real boat, coils of rope, fire hose reels, oil can, bracket for the spare propeller and bracket for the spare anchor.

Here I have added an additional box, tarpaulin and rope.

Showing the tyres, additional detail in the life boat (ropes) and bracket for the spare propeller.

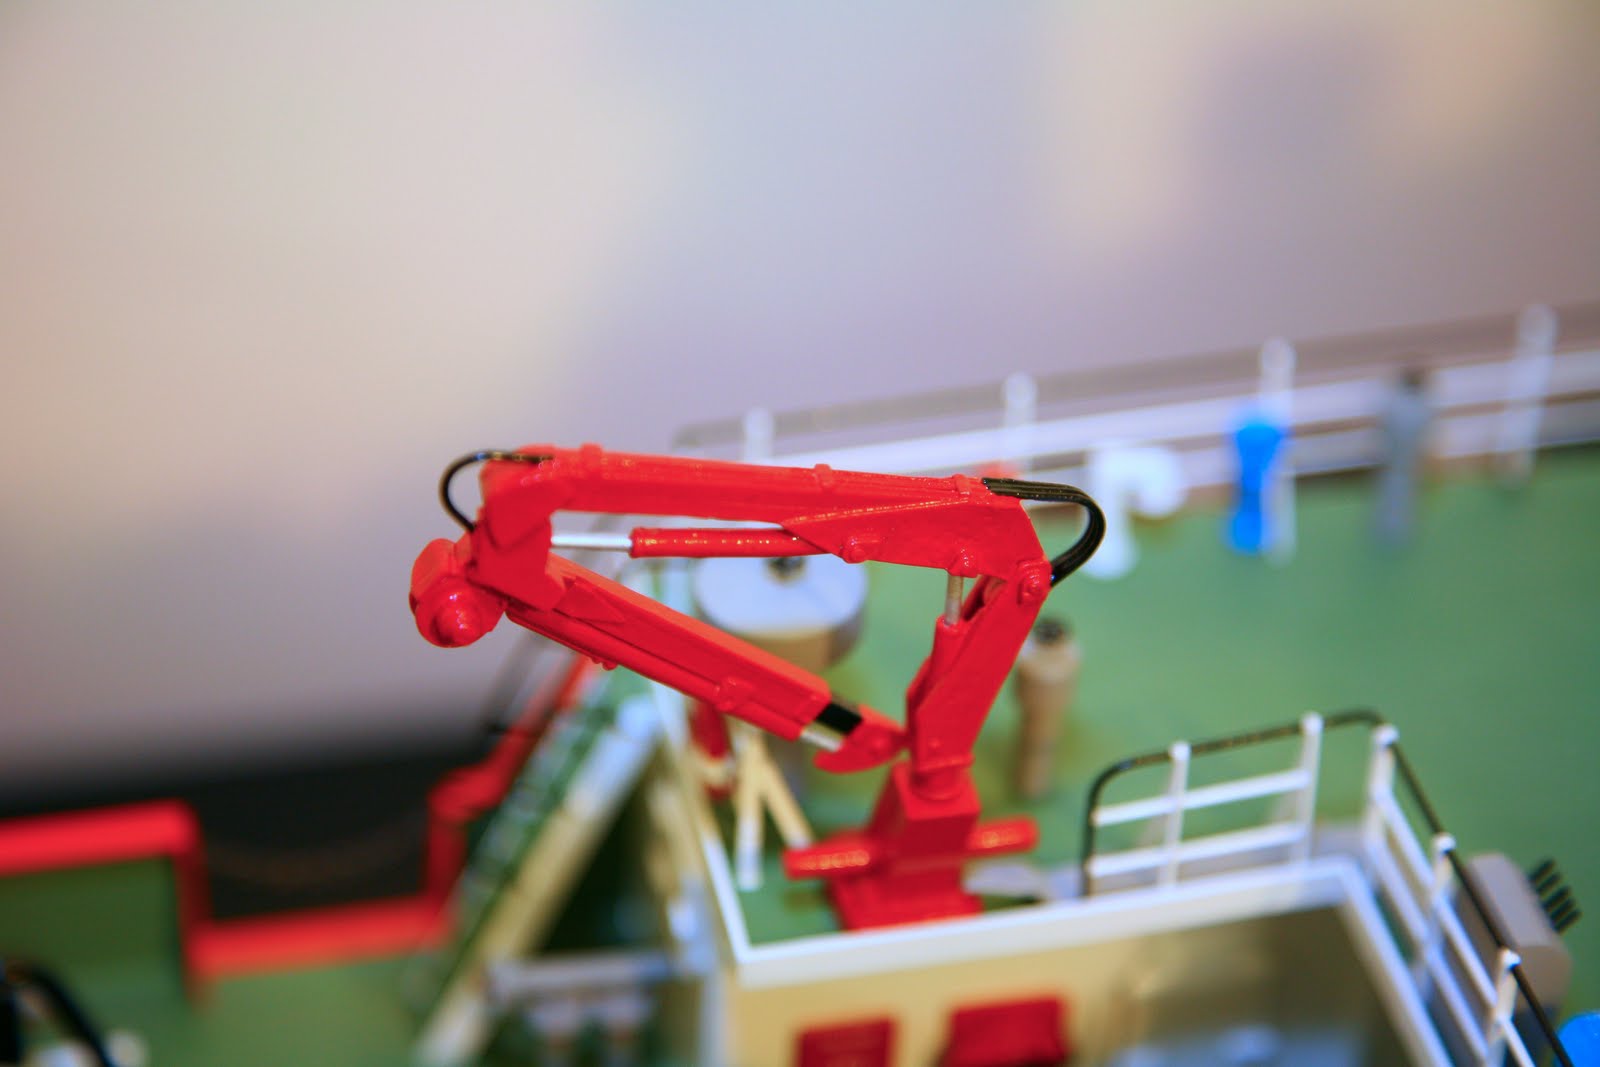
I added hydraulic hose on the crane to add realism.

A view of the winches.

I added a deck full of extras for additional interest.

Additional guy ropes, rigging and flag, as included on the real ship.


Testing the lighting before building the circuit board

Wednesday, November 09, 2011

Most of the superstructure now in place

Main mast now in place


Bow items and anchor windlass in place


Added the crane base and control box


Some painted items ready to be fitted to the ship.

Friday, September 30, 2011


Fendering fitted. The chains are ones I bought and are not the ones in the kit


Various parts primed and in various stages of painting. some items are additional to those included in the kit

Fixed the rails in place for the rear deck.
Added the rails on the stairs and started to paint black

Sunday, September 19, 2010

Supply pipes fitted to the deck. You can see the stairs fitted here too, to which I will be adding the handrails at some point.


Rear gates.


Lower deck showing the filler valves and stanchions for the rails that run along the rear deck.


Painting the lifebouys and preparing the rails for the rear deck.


Tie rails and bollards.


Valves fitted to the fire tender platforms.

Sunday, July 18, 2010

Painting the components


Below you can see red stripes I painted on the oil fillers

To simulate the real vessel (see below)

Tuesday, June 15, 2010

Starting to paint the primed parts - see below

Primed and ready to paint. On the top photo, you can see the mooring rings that I needed for the deck. I may have read the instructions wrong. Anyway, I contacted Model Slipway and they sent me two more free of charge. Thats what I call after service!

Monday, May 31, 2010


Loose fitting of the components before spraying with primer
Holes drilled in the decks for the fittings.

Monday, May 10, 2010

Made the rear gates. Decided to use plastic tube as I could get a neater job with this

Wednesday, May 05, 2010

White metal parts cleaned up and ready for priming
Brackets fitted to the life bouys (my own design as I did not want to use the holders shown in the instructions)
Oil filler taps
Fitting the taps. The shafts here have to be trimmed to size. The part at the top of the picture is the "tool" I made to ensure that the tap shafts were all the same hight as each other.